 Save
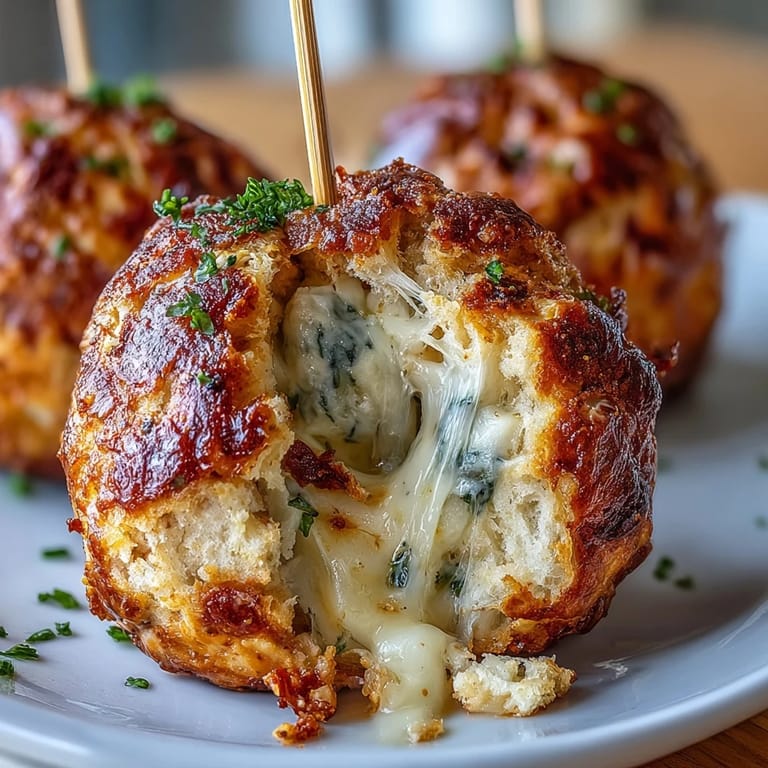
Save The first time I tried making these olive cheese balls was during an impromptu Derby-themed gathering, where my kitchen was filled with the sound of ice clinking in julep glasses and the persistent laughter of friends debating which horse would win. Somewhere between blending the dough and wrestling olives into their cheesy wrappers, the aroma blooming from the oven swept away any party stress. There was something mischievously fun about lining them up on skewers, transforming bite-sized snacks into miniature edible trophies for the snack table. When I finally served them, their golden crust and oozy, sharp cheese centers disappeared faster than race results, leaving only a scattering of toothpicks and satisfied grins.
I once prepared these for a neighbor’s Derby watch party, bracing for nerves because her crowd was famous for picking at their appetizers. Midway through the race coverage, I caught the usually reserved uncle sneaking back for a third helping, casually pretending to “check on the dip.” That moment made me realize this recipe could charm even the toughest snack critics.
Ingredients
- All-purpose flour: Gives the dough just enough structure so it crisps and holds together around the olive; don’t overpack the flour when measuring.
- Sharp cheddar cheese, shredded: The extra bite of a mature cheddar is crucial—pre-shredded cheese makes prep easy but grating by hand melts better.
- Unsalted butter, softened: Room temp butter brings the dough together smoothly; cold butter can make it crumbly, so let it sit on the counter awhile first.
- Cayenne pepper (optional): Just a gentle kick—leave it out for mellow crowds, or add an extra shake for spice lovers.
- Smoked paprika: This bit of warmth rounds out the cheesy flavor and adds a golden hue to the crust.
- Salt: With salty olives, you only need a touch, but don’t skip it entirely—this quietly ties everything together.
- Large green olives, pitted (such as Spanish Manzanilla): Classic choice for the right briny punch and perfect size; dry them to keep the dough from getting soggy.
- Appetizer-sized skewers or toothpicks: Turning the cheese balls into skewered snacks makes for fun, easy presentation and less greasy fingers.
Tired of Takeout? 🥡
Get 10 meals you can make faster than delivery arrives. Seriously.
One email. No spam. Unsubscribe anytime.
Instructions
- Get your oven set:
- Heat the oven to 400°F (200°C) and line a baking sheet with parchment—the sound of parchment crackling always signals something good is coming.
- Make the cheesy dough:
- In your biggest mixing bowl, combine the flour, cheese, butter, cayenne, paprika, and salt and use your hands to squish and blend until it’s all melded into a pliable dough; it should feel soft, not sticky.
- Portion the dough:
- Pat the dough into a rectangle and slice into 24 pieces—each one will look humble now, but trust that the cheesy magic is coming.
- Wrap up the olives:
- Flatten each piece in your palm, pop an olive in the middle, and gently wrap the dough around, pinching to seal out every little gap before rolling into a ball.
- Chill for perfection:
- Arrange the balls on your prepared tray; if you have 10 minutes, pop them in the fridge for extra tidy edges (but don’t worry if you’re in a rush—messy tastes just as good).
- Bake and finish:
- Bake for 16–18 minutes, watching for that deep golden color and listening for a faint sizzle from the cheese; they’ll be firm to the touch when ready.
- Skewer and serve:
- Let cool for 5 minutes, then thread each ball onto a skewer or cute toothpick; serve them still warm for the most irresistible treat, though they hold their own at room temperature too.
 Save
Save 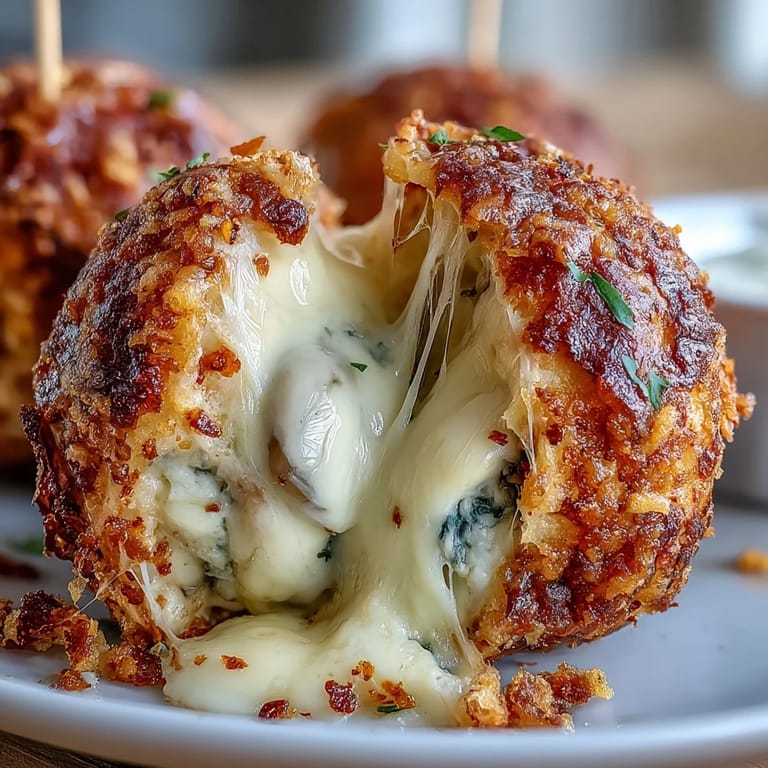 Save
Save Somewhat accidentally, these cheese balls became the heart of our family’s Derby Day spread—someone would always call dibs on the last one, sparking just enough banter and laughter around the table to make everyone linger a bit longer than planned.
Serving Suggestions & Dips
Pairing these golden bites with a sharp grainy mustard or a silky bourbon honey dip makes them instantly more festive; I’ve also noticed even snack skeptics get a little giddy with the right dip close by. Sometimes I’ll set out a platter with a mix of green and black olive balls so that there’s always a friendly debate about which is best.
Making Ahead & Storing Leftovers
If you’re prepping for a party, assemble the balls the day before and chill them on the baking sheet—baking straight from the fridge always works and the cheese flavor somehow deepens overnight. Leftovers (if you have any) keep well in an airtight container, and a quick five minutes in a hot oven brings them back to their former crisp glory.
Party Variations for Every Crowd
Mix things up by using black olives, jalapeño-stuffed olives, or adding a dash of hot sauce to the dough if you want more Southern flair—the combinations are endless and suit any gathering. Mixing two cheeses (like Gruyère and cheddar) adds a more complex flavor, and kids seem to love smaller, half-sized versions for lunchboxes or after-school snacks.
- Dry your olives before wrapping to avoid soggy dough.
- Use freshly shredded cheese for the best melt and taste.
- Chill the dough balls for cleaner edges but don’t stress if you skip it—they’ll taste great regardless.
 Save
Save  Save
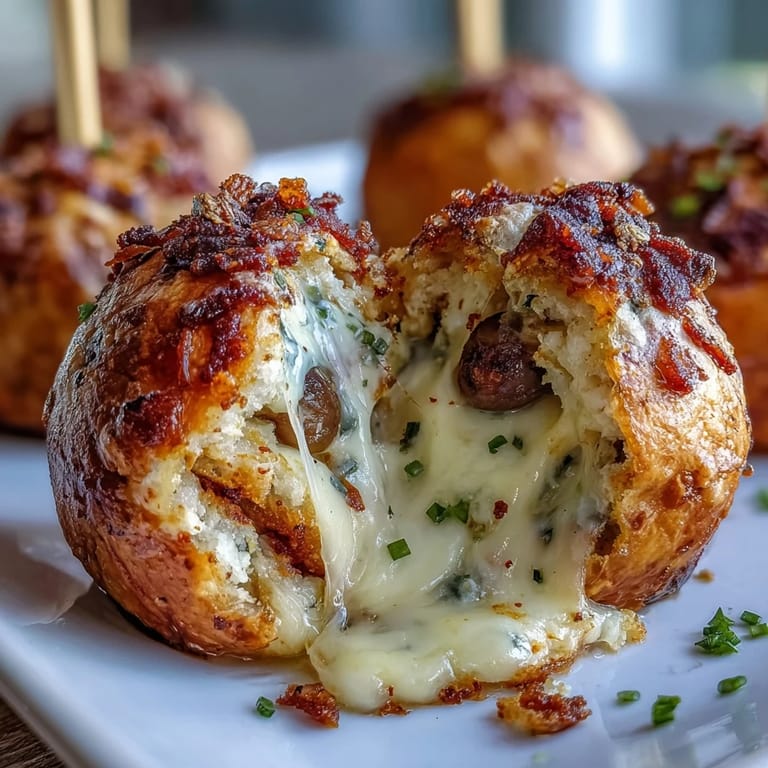
Save However you serve them, these cheese balls always seem to kick off laughter and friendly rivalry, and that makes every batch worth baking.
Recipe Guide
- → Can I make these ahead of time?
Yes. Assemble the cheese-covered olives and chill them on a baking sheet for up to 24 hours before baking to keep shapes neat. Alternatively, bake and refrigerate; reheat briefly in a hot oven to refresh the exterior.
- → What cheese works best?
Sharp cheddar gives bold flavor and good melt; you can blend in a bit of mozzarella for stretch or Parmesan for nuttiness. Keep the ratio so the dough remains firm enough to shape around the olive.
- → How can I make them spicier?
Add a pinch of cayenne or a dash of hot sauce to the dough, or swap in jalapeño-stuffed olives. You can also serve with a spicy mustard or horseradish-infused dip.
- → Any tips for even baking?
Cut dough into uniform tablespoon-sized pieces and optionally chill the shaped balls for 10 minutes before baking. Space them on a lined sheet so heat circulates and they brown evenly.
- → How should leftovers be stored?
Cool completely, then store in an airtight container in the fridge for up to 3 days. Reheat in a 350°F oven until warmed through to restore crispness.
- → What dips pair well with these?
Grainy mustard, bourbon-honey glaze, or a tangy mustard-mayo blend complement the savory cheddar and briny olives. A simple herbed yogurt dip also brightens the flavors.