 Save
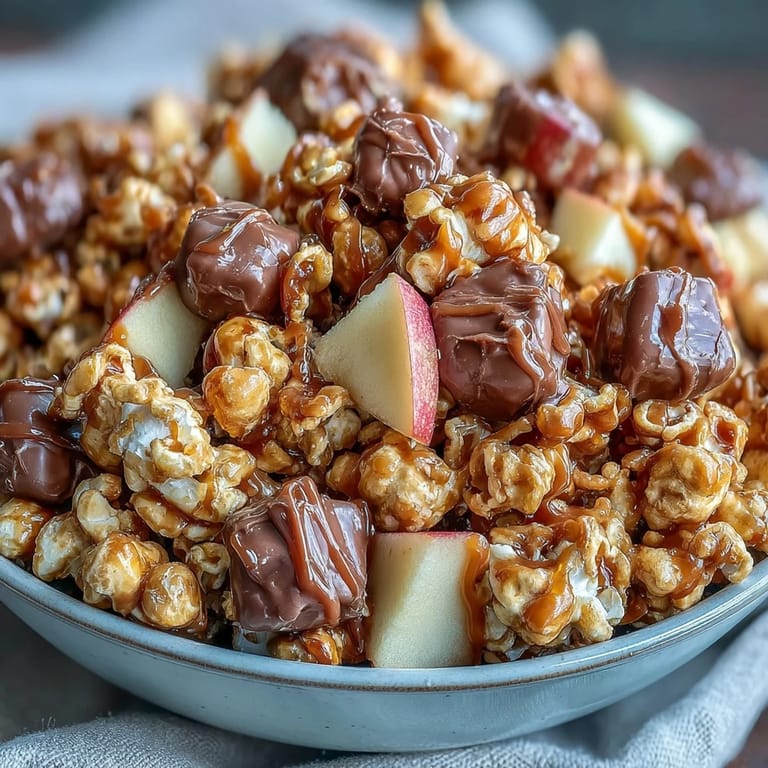
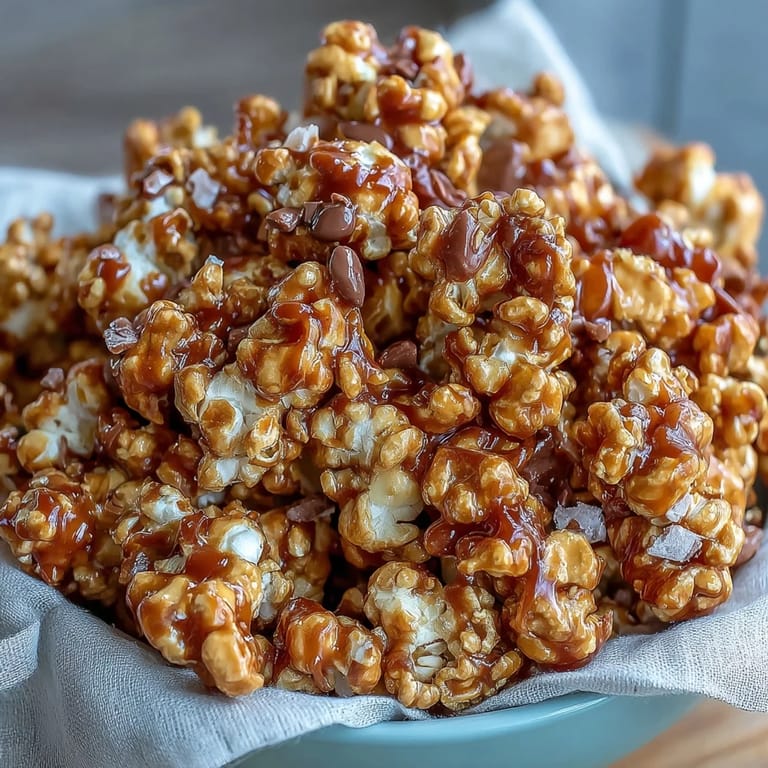
Save My kitchen smelled like burnt sugar the first time I attempted homemade caramel popcorn, and I nearly threw the whole batch away. But then my neighbor wandered in, grabbed a handful before I could stop her, and declared it absolutely perfect—crispy, buttery, dangerously addictive. That moment taught me that sometimes the mistakes taste better than the plan, and that caramel popcorn has this magical ability to turn an ordinary Tuesday into something worth sharing. Now I make it whenever I need to feel like I've done something right in the kitchen, even if the method looks chaotic.
I made this for my daughter's study group last fall, and they demolished the entire batch before the first movie scene even finished. She asked if I could make it again the next week, and the week after that, until it became the unofficial snack of their Thursday nights. What started as a simple treat became this running joke between us—her friends would text asking if I was bringing my popcorn. That's when I realized this recipe was less about impressing people and more about creating tiny moments of comfort disguised as snacks.
Ingredients
- Popcorn kernels: Fresh kernels pop fluffier and more evenly than old ones, so check that your container isn't gathering dust in the back of the pantry.
- Unsalted butter: This gives you control over the salt level, which matters more than you'd think when the caramel hits.
- Light brown sugar: Dark brown sugar works too, but it'll shift the flavor slightly deeper and less buttery-sweet.
- Light corn syrup: This prevents crystallization and keeps your caramel silky instead of grainy—don't skip it thinking honey is the same thing.
- Salt: A pinch that makes everything else taste like itself, not an ingredient you can taste directly.
- Baking soda: This is the secret magic that happens at the end—it'll bubble up and aerate your caramel, making it crispy instead of chewy.
- Pure vanilla extract: The good stuff actually matters here because imitation can taste a bit sharp against the sweetness.
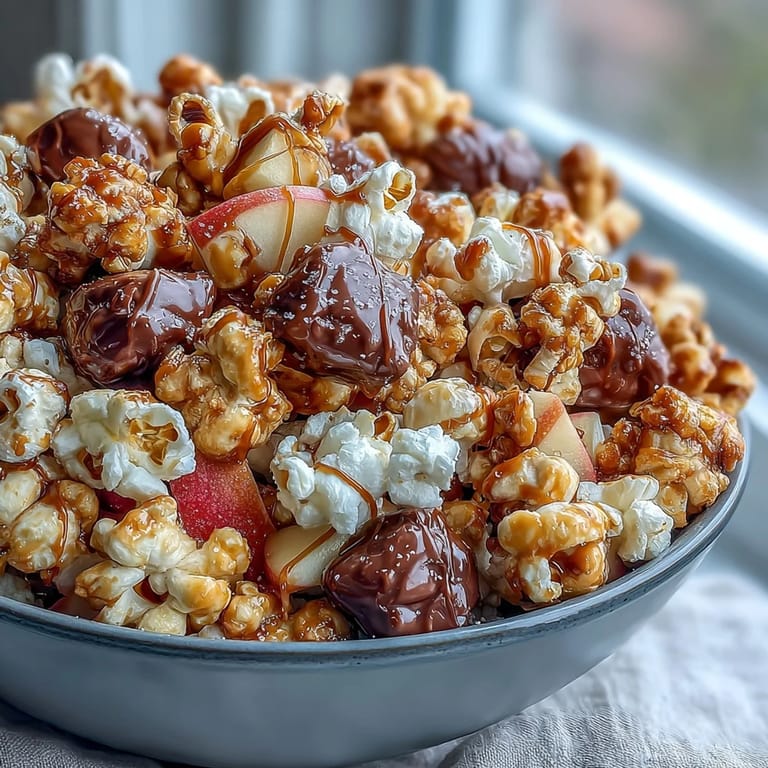
- Dried apple rings: Chop them into bite-sized pieces so they distribute evenly and give you that tangy pop against the caramel.
- Candy-coated chocolate pieces: These stay crunchy and add color, but soften slightly in the warmth, creating little pockets of chocolate joy.
- Salted peanuts: Optional but they ground the sweetness and add protein, keeping this from tasting like pure dessert.
Tired of Takeout? 🥡
Get 10 meals you can make faster than delivery arrives. Seriously.
One email. No spam. Unsubscribe anytime.
Instructions
- Prep your oven and get popcorn ready:
- Heat your oven to 250°F and line a baking sheet with parchment paper—this temperature is gentle enough to dry the popcorn without burning it. Pop your kernels using whatever method you prefer, spread them into a large bowl, and pick out any stubborn unpopped pieces that could crack a tooth.
- Make the caramel sauce:
- Melt your butter over medium heat, then add the brown sugar, corn syrup, and salt, stirring constantly until it bubbles up like it's excited. Let it boil undisturbed for 4 to 5 minutes—this is where patience matters, because stirring breaks the chemistry you're building.
- Add the lift and flavor:
- Pull it off the heat and immediately stir in the baking soda and vanilla, watching as it froths and doubles in volume like a tiny caramel volcano. This bubbling action is what makes the final texture crispy instead of sticky, so don't skip this moment or rush it.
- Coat the popcorn:
- Pour the hot caramel over your popcorn while it's still warm and fluid, then use a spatula to toss gently and constantly until every kernel is wearing caramel like a little jacket. Work quickly because the caramel sets fast, and you want an even coat, not clumpy patches.
- Bake until crispy:
- Spread everything on your prepared baking sheet and slide it into the oven, stirring every 10 to 15 minutes to prevent bottom-burning and ensure the heat reaches every piece. Twenty minutes might feel long, but this slow bake is what transforms sticky caramel into that satisfying crunch.
- Cool and finish:
- Let it rest for 10 minutes once out of the oven, then break apart any clumps that have bonded together while cooling. Once it's completely cool, fold in your dried apples, candies, and peanuts so they don't melt or get soggy from the residual heat.
 Save
Save My son once came home from a rough day at school, didn't say much, just sat at the kitchen counter while I made this and ate piece after piece without complaint. We didn't need to talk about whatever happened—the snapping sound of popcorn breaking between his teeth, the little smile when he found a chunk of dried apple, that was enough. Food doesn't always fix things, but sometimes it creates the space where you don't have to pretend you're okay, and that matters more than the recipe itself.
The Art of the Caramel Stage
Watching caramel transition from sugar-and-butter to this glossy, amber-colored moment is like witnessing a small kitchen alchemy. The 4 to 5 minute boil isn't arbitrary—it's the time it takes for the moisture to evaporate and the flavors to deepen without burning into bitterness. I learned this the hard way by stirring too early and ending up with grainy, sad caramel that crystallized before it ever hit the popcorn.
Texture is Everything Here
The magic of this snack lives in the contrast—crispy caramel coating, soft chewy dried apples, smooth chocolate centers, crunchy peanuts all happening in one bite. The 250°F oven temperature is deliberately low because you're not trying to roast popcorn; you're drying the caramel coating into a glass-like shell that shatters between your teeth. I once turned the heat up to speed things along and ended up with burnt edges and a kitchen that smelled like charred sugar, so trust the slow approach.
Storage and Serving Wisdom
This mixture keeps for about three days in an airtight container, though it will lose its snap by day three and start leaning toward chewy. I've learned that humidity is the enemy here—store it somewhere cool and dry, not near the stove or in a damp cupboard, or you'll watch your crispy triumph slowly surrender to moisture. For parties, I sometimes make it the morning of and serve it in paper cones so people feel like they're eating something a little bit special.
- If your caramel seizes or looks grainy, that's crystallized sugar, and unfortunately there's no saving that batch—learn from it and try again, which honestly I've done more times than I should admit.
- The candy-coated chocolates help keep the popcorn from sticking together because they create tiny barriers between pieces, so don't cut corners on the amount.
- If you're making this ahead, wait to add the apples and candies until just before serving so they stay distinct and don't get absorbed into the general stickiness.
 Save
Save This recipe became my answer to every small celebration, every moment worth marking with something sweeter than the ordinary. It's the kind of snack that tastes like you spent hours in the kitchen when really you just spent half an hour and a little bit of attention.
Recipe Guide
- → How do I ensure popcorn is evenly coated?
Bake the caramel-coated popcorn on a lined sheet and stir every 10–15 minutes to promote even coverage and prevent clumping.
- → Can I make this nut-free?
Yes, simply omit the salted peanuts to keep it free from nuts while maintaining great flavor.
- → What storage is recommended?
Store in an airtight container to maintain freshness and crunch for up to three days.
- → Can I add extra flavor to the caramel sauce?
A sprinkle of cinnamon in the caramel sauce adds a warm, aromatic touch that complements the sweetness.
- → What popcorn works best for this mix?
Use freshly popped plain popcorn kernels for the best texture and flavor absorption.